Mastering Chicken Broth: One Pot, Two Meals, Pure Flavor
There's a quiet magic that happens in your kitchen when a pot of homemade chicken broth simmers gently on the stove. It’s an aroma that evokes comfort, tradition, and the promise of nourishing meals to come. Far more than just a liquid base, a truly exceptional broth is the cornerstone of countless culinary delights, transforming everyday dishes into extraordinary experiences. If you’ve ever wondered how to make chicken broth that's rich, golden, and packed with unparalleled flavor, you're in the right place. This guide will walk you through a simple, low-effort method that yields not only quarts of savory broth but also a generous amount of tender, cooked chicken – two invaluable building blocks from a single pot.
The beauty of this approach lies in its inherent efficiency. By gently poaching a whole chicken, you’re engaging in a dual-purpose culinary ritual. You're not merely extracting flavor from bones; you're simultaneously cooking a versatile protein that can be the star of tonight's dinner or a convenient component for future meals. This method epitomizes zero-waste cooking and hands-on satisfaction, creating a foundational ingredient that store-bought versions simply can't match in depth or purity.
The Culinary Alchemy: Why This Method Works Wonders
Achieving that perfectly clear, full-bodied, and deeply savory chicken broth isn't a secret held by professional chefs; it's a series of simple, patient steps. This technique leverages fundamental culinary principles to deliver superior results every time:
- Whole Chicken = Maximum Flavor Extraction: The core of this method involves using a whole raw chicken or a substantial mix of bone-in, skin-on pieces. Cooking the meat, bones, and skin together allows for a comprehensive extraction of flavors, fats, and collagen. This synergy results in a broth that is infinitely richer and more complex than those made with just bones, yet still boasts a clean and light profile. It’s the difference between a simple stock and a truly nourishing, flavorful broth.
- The Cold Water Start Advantage: This is a non-negotiable step for clear, non-cloudy broth. Adding your chicken and vegetables to cold water and gradually bringing it to a simmer allows the flavors to extract slowly and gently. As the water heats up, proteins and impurities are released to the surface as foam, which can then be easily skimmed away. Starting with hot water, conversely, can "shock" the proteins, causing them to seize up and coagulate, resulting in a cloudy broth and less efficient flavor transfer.
- The Gentle Simmer for Deep Flavor: Once your pot comes to a boil and you've skimmed the initial impurities, the heat is reduced to a low, steady simmer. This gentle treatment is crucial. A rolling boil agitates the ingredients, causing fats and proteins to emulsify into the liquid, leading to a greasy, cloudy, and sometimes bitter broth. A patient, slow simmer, however, allows flavors to meld and deepen over several hours, resulting in a beautifully clear, golden liquid packed with umami.
- Built-in Efficiency for Meal Prep: One pot, two significant outputs. This process is inherently efficient, providing you with both high-quality broth and tender, cooked chicken simultaneously. This makes it an ideal base recipe for meal prep, enabling you to stock your freezer with homemade goodness, ready to elevate future soups, stews, sauces, and casseroles. For more on maximizing efficiency and achieving clear results, explore Homemade Chicken Broth: Flavor, Efficiency, & Clear Results.
Gathering Your Essentials: Ingredients for Superior Broth
The beauty of making your own broth is that it relies on simple, wholesome ingredients. While flexibility is key, starting with quality components will undoubtedly elevate your final product.
- The Chicken: For the most robust flavor, a whole raw chicken (typically 3-5 pounds) is ideal. However, a combination of bone-in, skin-on chicken pieces like breasts, thighs, drumsticks, necks, and wings will work wonderfully too. The bones are where much of the magic happens, contributing collagen and minerals, while the meat and skin add depth and richness. Some cooks also include organ meats like the heart and gizzard for an extra layer of flavor; just be sure to discard or reserve the liver for another use, as it can impart a slightly metallic or bitter taste to the broth.
- The Water: As mentioned, always begin with cold water. The quality of your water also matters; filtered water can make a noticeable difference in the purity of your broth's flavor compared to heavily chlorinated tap water. The amount of water and the simmering time will dictate the intensity of your broth – more water or shorter simmering leads to a lighter broth, while less water and longer simmering creates a more concentrated essence.
- The Aromatics (Vegetables): While some traditionalists advocate for using saved vegetable scraps (carrot peelings, celery ends, onion skins), for a truly superior, clean-tasting broth, we recommend using fresh vegetables. Fresh carrots, celery, and onions contribute bright, clean flavors without the potential for bitterness that can come from older, withered scraps. Peel your carrots and quarter your onions; there's no need for fine dicing as everything will be strained out anyway.
- The Herbs & Spices: This is where you can truly personalize your broth. A classic combination, often tied in a cheesecloth sachet (or "bouquet garni"), includes parsley stems, fresh thyme sprigs, bay leaves, and whole black peppercorns. You can also add a few cloves of garlic (peeled) or even a pinch of whole cloves for an intriguing twist. Tying these smaller ingredients in a sachet or using a tea ball makes for easier removal, though since you'll be straining the broth thoroughly at the end, adding them directly to the pot is perfectly fine.
Crafting Your Golden Elixir: A Step-by-Step Guide
Now that you have your ingredients, let’s get to the heart of how to make chicken broth that will impress and nourish.
- Prepare Your Pot: Choose a large, heavy-bottomed pot or Dutch oven (6-8 quarts is ideal). Add your whole chicken or chicken pieces to the pot.
- Add Cold Water: Cover the chicken completely with cold water, ensuring there's about an inch or two of water above the chicken. This ensures even cooking and proper flavor extraction.
- Bring to a Gentle Boil: Place the pot over medium-high heat and bring the water to a boil. Keep a close eye on it, as you want to catch it just as it reaches a rolling boil.
- Skim the Impurities: Immediately reduce the heat to low. You'll notice a foamy scum rising to the surface. This consists of coagulated proteins and impurities. Using a large spoon or a fine-mesh skimmer, carefully skim off and discard as much of this foam as possible. This step is crucial for achieving a clear, clean broth.
- Add Your Aromatics: Once skimmed, add your prepared fresh vegetables (carrots, celery, onion) and your herb sachet (or loose herbs and peppercorns) to the pot.
- Simmer Gently: Cover the pot partially, leaving a small vent for steam to escape. Maintain a very gentle simmer – just a few small bubbles breaking the surface, not a vigorous boil. This low and slow approach is key to developing deep flavor without cloudiness or bitterness.
- Cook to Perfection: Let the broth simmer for 1.5 to 2 hours. At the 1.5-hour mark, the chicken meat should be incredibly tender and easily falling off the bone. If your primary goal is the chicken meat, you can remove it at this point, allowing the broth to continue simmering for another 1-2 hours for maximum flavor extraction from the bones and remaining bits. For a deeply flavored broth, a total simmer of 3-4 hours is excellent. Some enthusiasts even simmer for up to 6 hours or longer, though the quality of flavor extraction diminishes after 4-6 hours, and broth can start to become overly concentrated or slightly bitter if simmered too long without fresh additions.
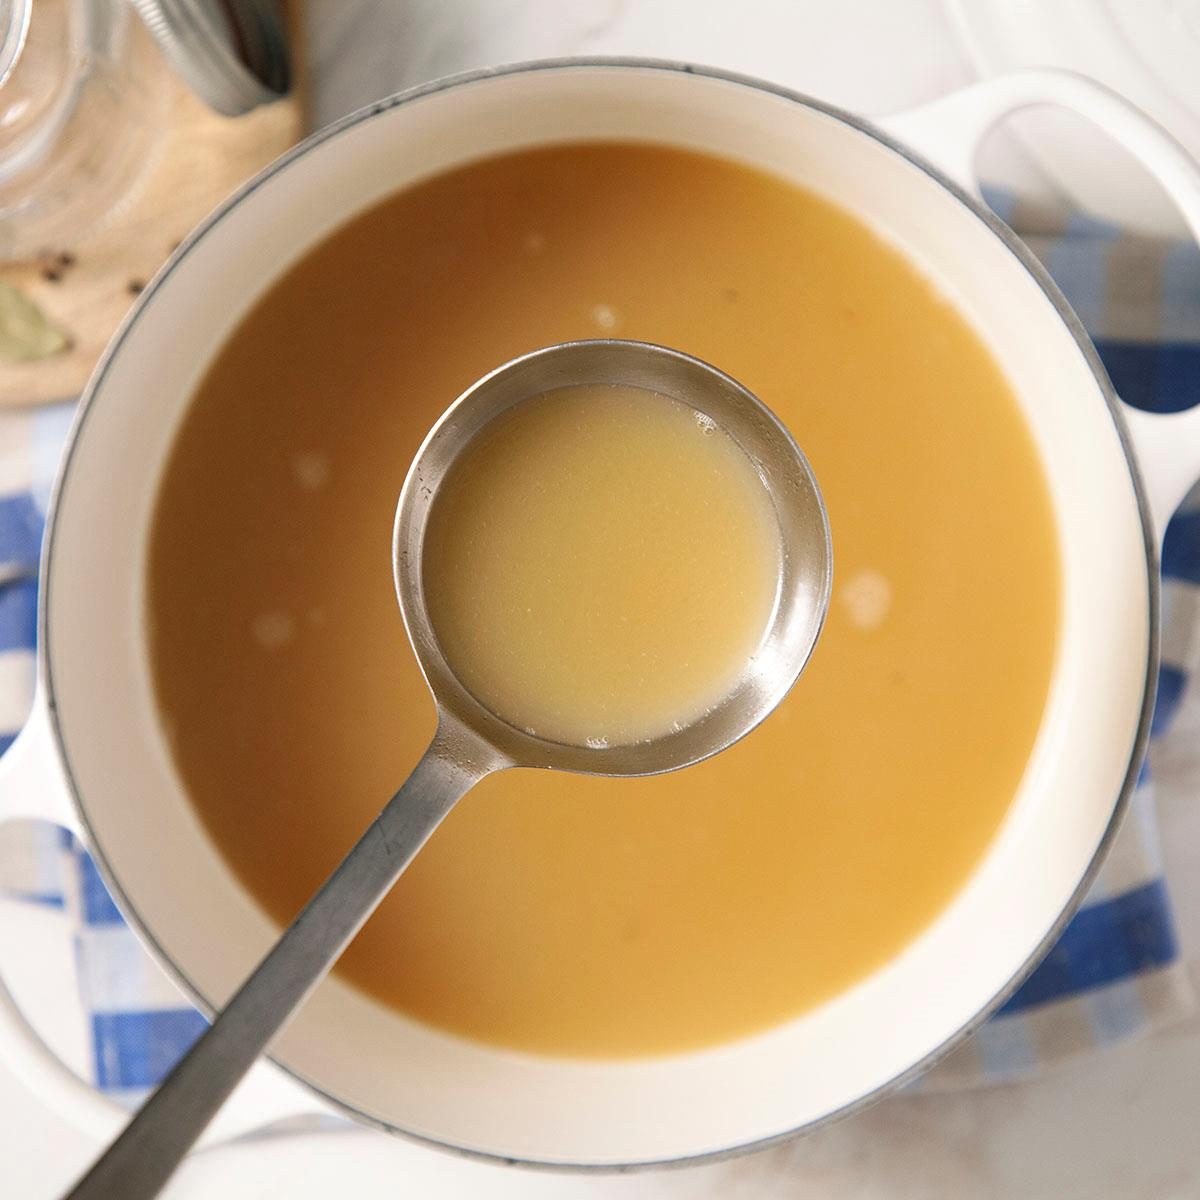
- Strain the Broth: Carefully remove the chicken (if still in the pot) and set it aside to cool. Using a large ladle, carefully transfer the broth through a fine-mesh sieve or colander lined with cheesecloth into a large heat-proof bowl or clean pot. Discard the cooked vegetables and herbs.
- Cool and Store: Allow the broth to cool completely at room temperature before transferring it to airtight containers. Never put hot broth directly into the refrigerator, as it can raise the internal temperature of your fridge to unsafe levels. Once cool, refrigerate for up to 4-5 days or freeze for up to 6 months. You'll notice a layer of fat solidify on top – this acts as a natural seal and can be easily removed once chilled, or left in for extra richness and flavor, depending on your preference.
Beyond the Broth: Utilizing Your Tender Chicken
With quarts of golden broth secured, you now have a bonus: delicious, tender cooked chicken! This versatile protein is perfect for a myriad of dishes, ensuring nothing goes to waste:
- Classic Comforts: Shred it for Old-Fashioned Chicken Noodle Soup, chicken pot pies, or hearty stews.
- Quick Meals: Dice it for chicken salad sandwiches, wraps, tacos, quesadillas, or as a topping for baked potatoes.
- Salads & Grains: Add it to green salads, grain bowls, or mix into a vibrant chicken and rice pilaf.
- Casseroles & Bakes: Incorporate into creamy chicken and pasta bakes, enchiladas, or lasagna.
Tips for Perfecting Your Broth
- Don't Over-Salt: It's best to season your broth minimally during cooking, as it will concentrate as the water evaporates. Adjust salt to taste when you use the broth in your final dish.
- For Deeper Color: For a richer, darker broth, consider roasting your chicken bones (or a whole chicken, cut into pieces) in the oven at 400°F (200°C) for 30-45 minutes until browned before adding them to your pot.
- Enhance Bone Extraction: Adding a tablespoon of apple cider vinegar at the beginning of the simmer can help extract more minerals and collagen from the bones, though it's not strictly necessary.
- Fat Removal: If you prefer a less fatty broth, chill it completely. The fat will solidify on top, making it easy to skim off with a spoon before reheating.
Making your own chicken broth is more than just a recipe; it's a small ritual that brings incredible depth of flavor and nourishment to your kitchen. The rewards – the enticing aroma, the rich taste, and the satisfaction of knowing exactly what's in your food – pay off again and again. So, gather your ingredients, set aside a few hours, and embark on this rewarding culinary journey. Your future self, and your taste buds, will thank you.
